How to get started

The installation should only take 15 minutes or less. Click here to watch our installation video – so you can set up your sensor in no time!

1. Charge your sensor

  • Remove the magnetic mounting plate from the back of the sensor.
  • Remove the cover from the charging port. Use the attached USB-C cable to charge Minut. Once charged, make sure to secure the cover back on.

You can follow the charging progress by looking at the battery indicator at the back of the sensor. The lights will blink when charging, and turn solid when charged. A full charge should take about 1-4 hours.

Back plate being removed from the back of the sensor

2. Download the app

  • Download the Minut app from the Google play store or iOS app store.
  • Open the app and create your account.

If you already have an account, just open the Minut app and log in.

  • Create your first home following the steps in the app.
  • Once your home is ready, tap on the “+” sign in the top right corner to start the installation process.

Not sure where to install your sensor? Scroll down for tips.

Using the Minut app on mobile

3. Install Minut

  • Peel off the sticker from the back of the mounting plate, and mount it to the ceiling or the wall.
  • Attach Minut to the magnetic mounting plate.

If you're installing your Minut indoors and want to run it permanently plugged in, connect it to the power outlet at this step.

Installing the sensor on to the ceiling

Where should I install Minut?

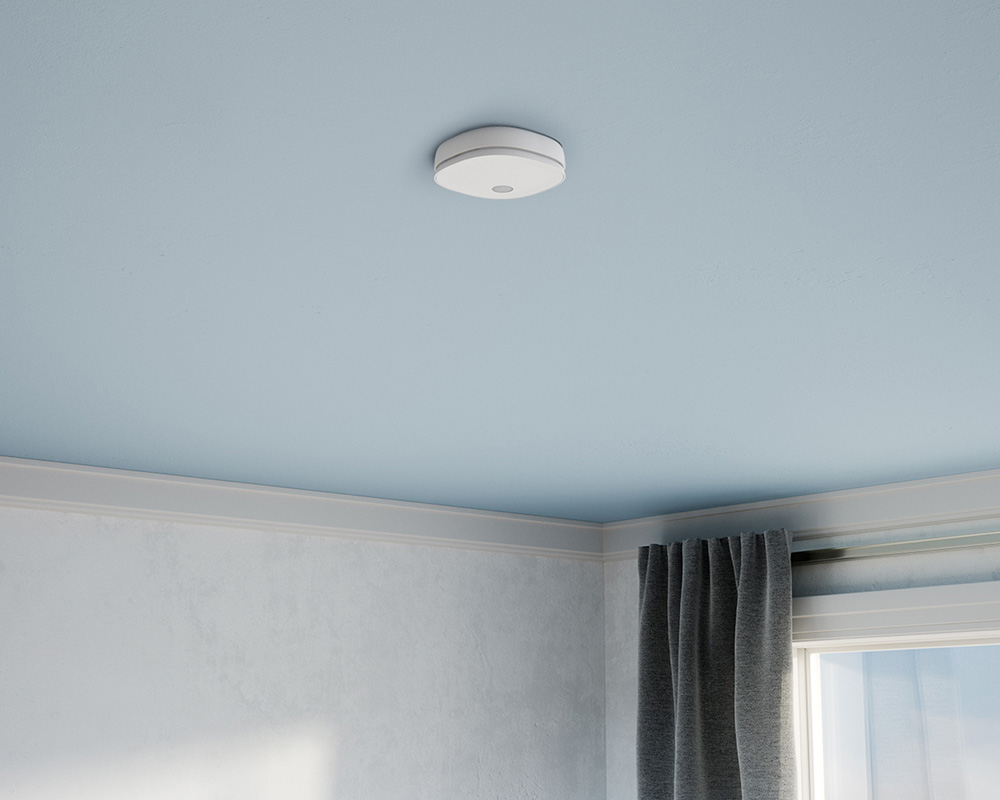
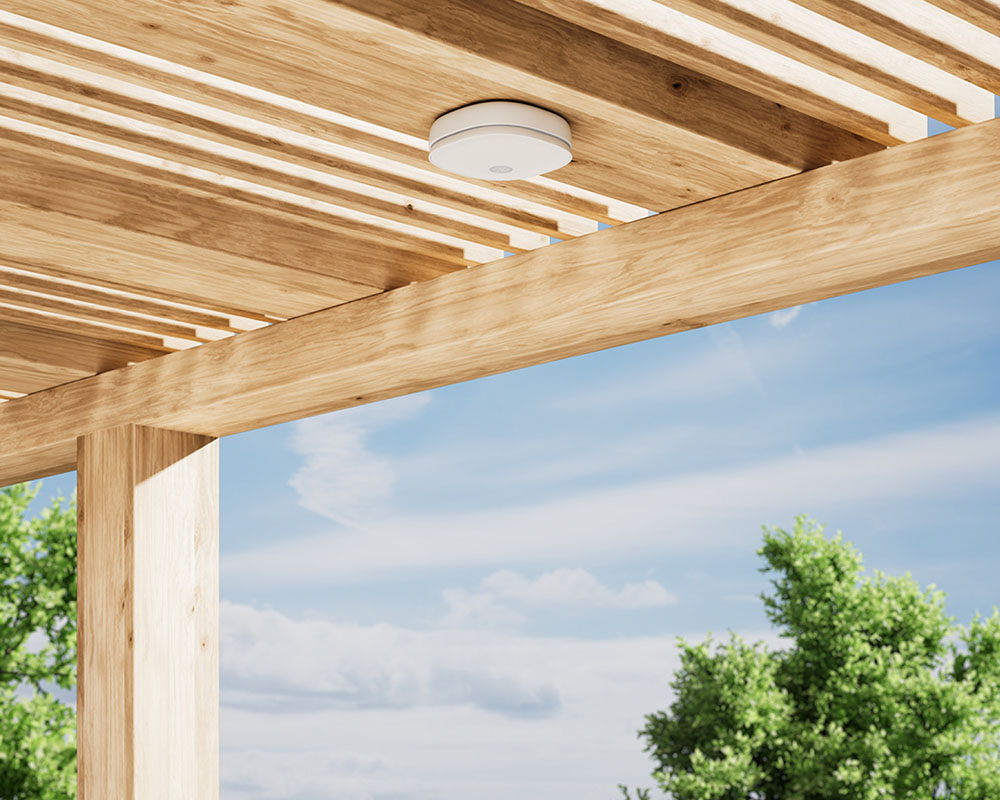
We recommend installing Minut in the area where people are likely to gather. A smaller rental is likely to have just one such area. In larger properties you might want to monitor multiple areas, both indoors and outdoors.

Minut adjusts sensor settings to its location to deliver optimal performance. For more information on indoor and outdoor modes, scroll down.

A Minut sensor installed in the roof  inside

Indoors

Monitor indoor noise, occupancy, motion, temperature and humidity.
If your main concern is noise, then the living room is the perfect place to install your sensor.
Minut is designed to be mounted on the ceiling. It makes noise and motion monitoring more accurate, and helps the sensor blend in better, so you won’t have to worry about your guests unplugging it.
Minut’s battery lasts up to 1 year. But if you’re worried about having to take it down to charge it, you can also install Minut on the wall close to the power outlet, and run it permanently plugged in.
A Minut sensor installed underneath a pergula sitting outside

Outdoors

Monitor outdoor noise, temperature and humidity.
The most common places to install Minut outdoors are decks, patios and pool areas.
Avoid areas of direct sunlight. We recommend installing it under a roof or in another shaded area.
Don’t install close to noisy equipment such as AC units.
To reduce rain splash, place it at least 20 in or 50 cm above the ground.

Frequently Asked Questions

How do I add a new sensor to an existing home?

In the mobile app, go to the Homes tab and pick the home you want to add your sensor to. Click on Sensors & graphs. Press the + sign in the top right corner to add a new sensor.

Read more here.

How do I turn Minut on? Where is the power button?

The power button is at the bottom of the sensor. Make sure to remove the magnetic mounting plate first to reveal the button. To turn Minut on, simply press the button.

Read more here.

How do I use the Minut API?

In order to have a custom integration, you will need access to Minut's API. Minut's API is available on our Pro plan subscription. You can read more about custom integrations with the Minut API here.

Is the Minut sensor a smoke alarm?

Minut sensor is not a smoke alarm and Minut does not make a smoke alarm. To protect your home from such threats, please purchase and install separate fire and/or smoke alarms that comply with local regulatory requirements. The device DOES NOT conform to the regulatory requirements mandated for fire or smoke alarms, such as UL 217, EN14604 or any other regulatory requirement.

What is the Point Configuration wifi network and where do I find it?

Point Configuration wifi network is the network that you will need to use to add your Minut sensor to the app. When prompted by the Minut app, simply go to the Internet settings of your smartphone, and select it under Wi-Fi networks.

Read more here.

Does Minut have to be turned on for it to charge?

No, Minut doesn’t need to be turned on for it to charge. You just need to remove the mounting plate and charging port cover, then plug it in. You’ll see the battery charge indicators light up automatically.

Read more here.

How can I upgrade my plan?

You can manage your plan in the My Account section of our web app. Navigate to the Plan, Billing & Payments tab, then scroll down and click on Change Plan.

How can I update the wifi settings?

You can update your wifi settings in the mobile app:


  1. Open the Minut app, and navigate to the Homes tab.
  2. Select the home that you want to update the wifi setting for.
  3. Click on Sensors & graphs.
  4. Tap the Minut sensor you want to update wifi settings for.
  5. Tap on the Settings icon in the top right corner.
  6. Select "Advanced," and press the “Update Wi-Fi settings” button.
  7. Follow the instructions in the app.